
How Fillers Are Administered: A Comprehensive Guide
Dermal fillers are a popular cosmetic solution to restore facial volume, smooth wrinkles, and enhance features like lips, cheeks, and nasolabial folds. Understanding how fillers are administered can help patients feel more confident and prepared for the procedure.
Fillers are minimally invasive treatments designed to provide natural-looking results with little downtime. By knowing the steps, techniques, and sensations involved, you can make informed decisions about your aesthetic journey.
Step 1: Consultation and Assessment
Before any filler treatment, a professional consultation is essential. The aesthetic practitioner will:
-
Evaluate facial structure and identify areas for volume restoration.
-
Discuss the desired results and choose the appropriate type of filler.
-
Assess skin type, medical history, and potential contraindications.
This step ensures personalized and safe treatment, tailored to the patient’s needs.
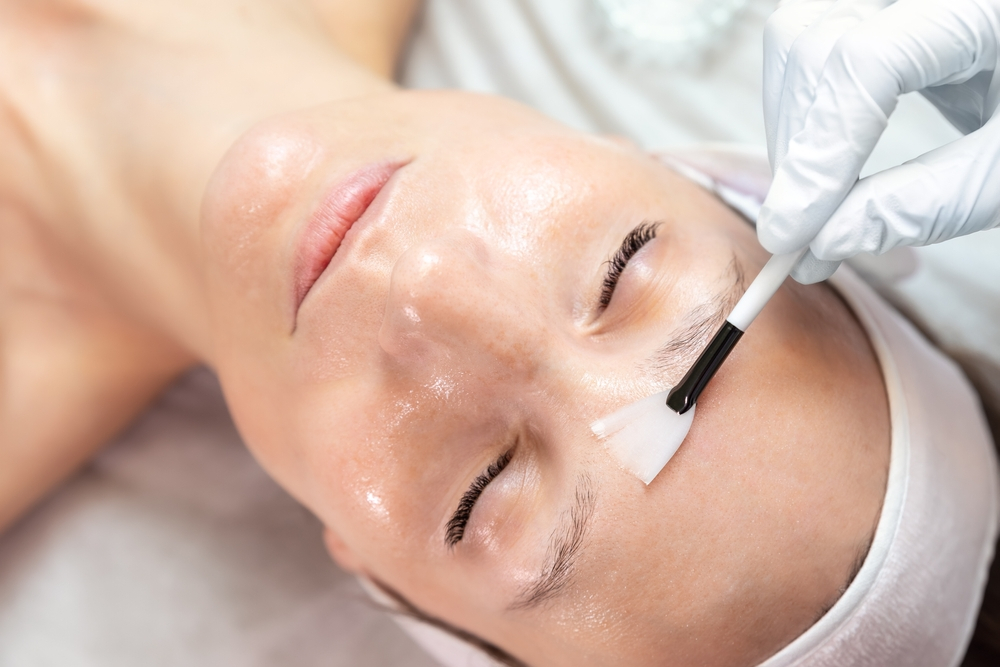
Step 2: Preparation
Once the treatment plan is finalized, the area to be treated is prepared:
-
The skin is cleansed to remove dirt and bacteria.
-
A topical numbing cream may be applied to reduce discomfort.
-
Some practitioners may use ice packs to minimize swelling and sensitivity.
Proper preparation ensures comfort and reduces the risk of complications during how fillers are administered.
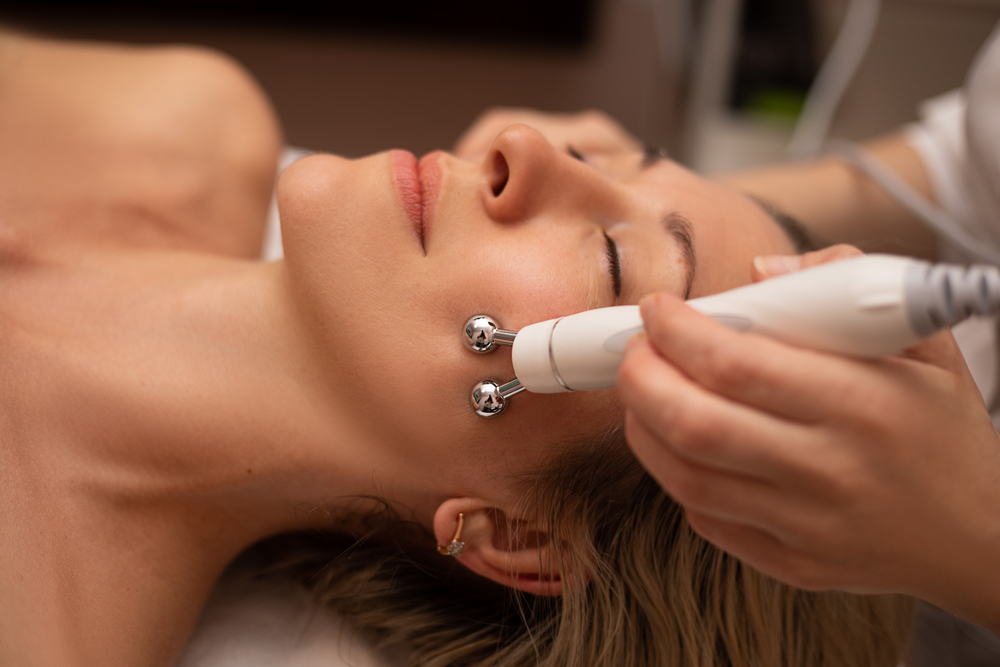
Step 3: Injection Techniques
The method of injection depends on the area and type of filler:
1. Needle Injection
-
A fine needle is used to inject filler directly into the skin or underlying tissues.
-
Commonly used for lips, fine lines, and nasolabial folds.
-
Provides precise placement and immediate volume restoration.
2. Cannula Technique
-
A blunt-tip cannula is used for larger areas like cheeks or jawline.
-
Reduces bruising and swelling compared to needle injections.
-
Allows smoother distribution of filler in sensitive areas.
External reference for credibility: Dermal Fillers – Safe Administration in India
Step 4: Molding and Shaping
After injection, the practitioner carefully massages or molds the treated area to:
-
Ensure even distribution of the filler.
-
Achieve natural contours and symmetry.
-
Reduce the risk of lumps or irregularities.
This step is crucial for achieving seamless results and optimal patient satisfaction.

Step 5: Post-Treatment Care
After how fillers are administered, patients may notice mild swelling, redness, or tenderness, which usually resolves within a few days. Recommended care includes:
-
Avoiding heavy facial movements for 24–48 hours.
-
Applying cold compresses to minimize swelling.
-
Avoiding sun exposure, heat, or strenuous activity for the first day.
-
Following up with the practitioner if any concerns arise.
For professional guidance, visit our contact page.
Common Areas Where Fillers Are Administered
-
Lips: For volume, contour, and hydration.
-
Cheeks: To restore lost volume and lift the mid-face.
-
Nasolabial Folds: To smooth smile lines and wrinkles.
-
Under Eyes: To reduce hollowness and dark circles.
-
Jawline and Chin: For improved facial symmetry and definition.
Benefits of Proper Filler Administration
-
Minimally Invasive: Quick procedure with minimal downtime.
-
Natural Results: Enhances features without altering expressions.
-
Customizable: Treatment is tailored to each patient’s needs.
-
Long-Lasting: Depending on the filler type, results can last 6–18 months.
Conclusion
Understanding how fillers are administered ensures a safe, comfortable, and effective cosmetic experience. From consultation and preparation to injection techniques and post-care, each step is designed to provide natural-looking results. With guidance from a licensed professional, fillers can restore volume, smooth wrinkles, and enhance facial features with precision and safety.


Honestly, I’ve researching this unique topic and your points on 2026 embroidery
is spot on. Appreciate the detail!